Join us on Facebook

How to fix Package file is invalid error

So "Package File is invalid" error seems to be appearing quite often these days and it seems like there are multiple solutions to fix this problem.


So how do I fix Package file is invalid error on Google Play Store?

Solution 1: Quite the Play store - open it again and try downloading the app again.

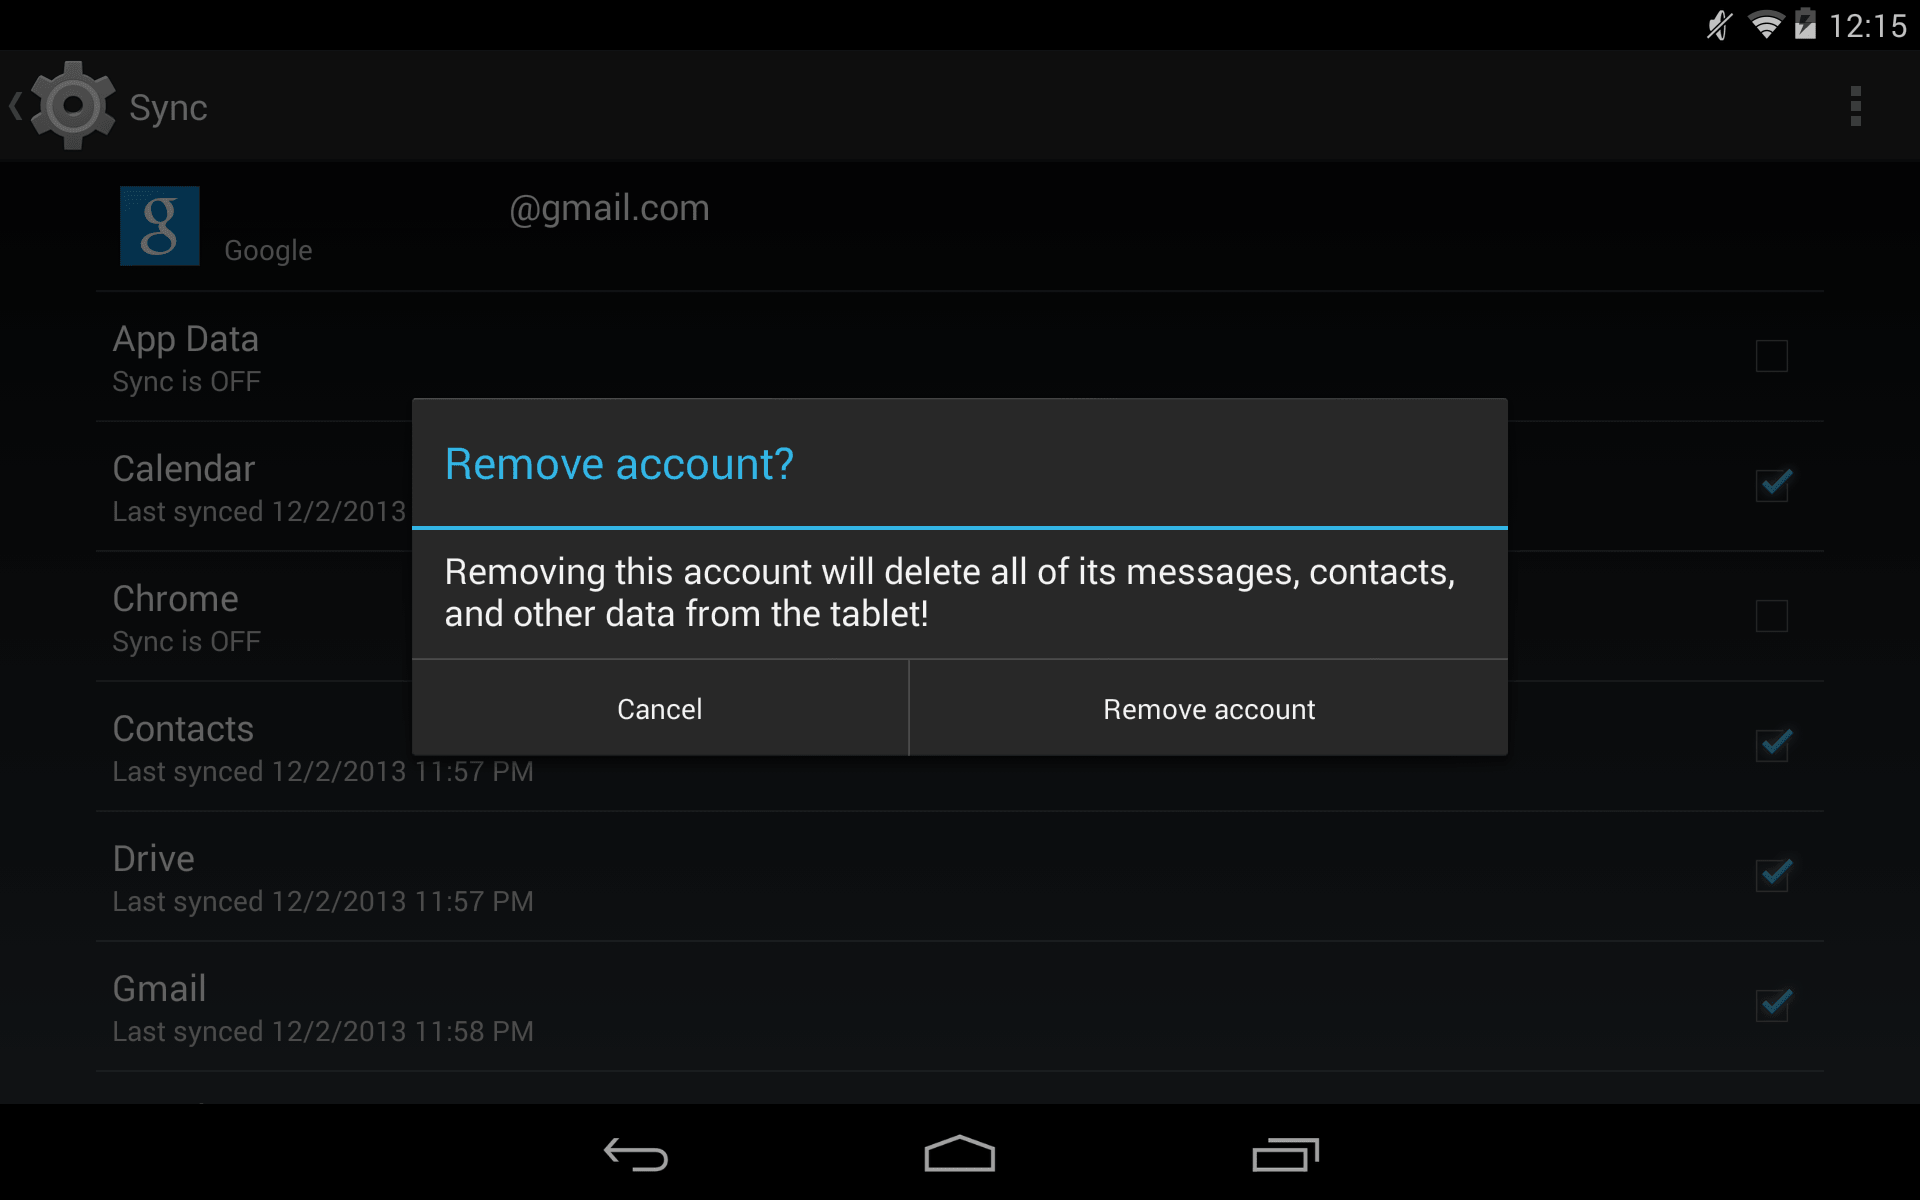
Solution 2: Log in and out of your Google Play Store Account

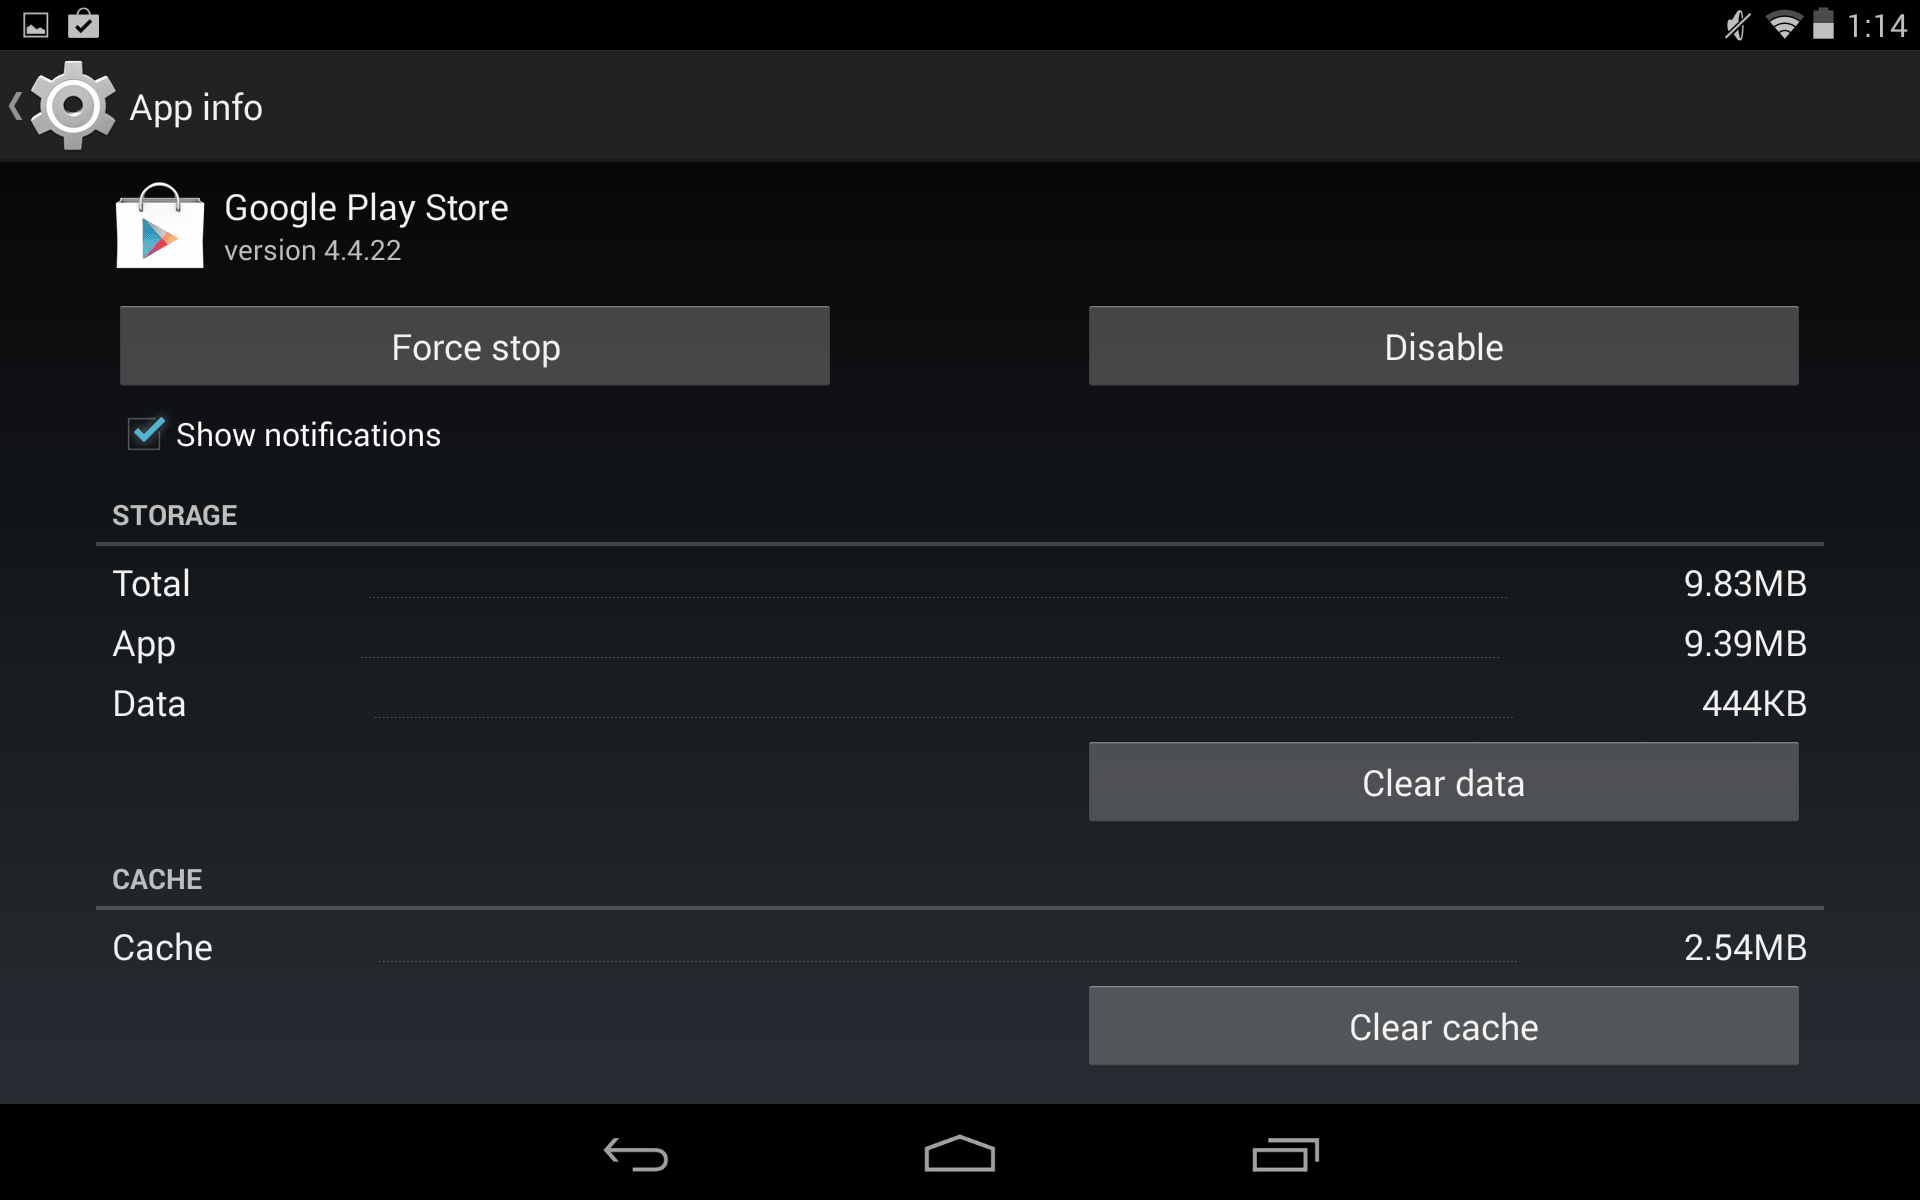
Solution 3: Clear Data and Clear Cache
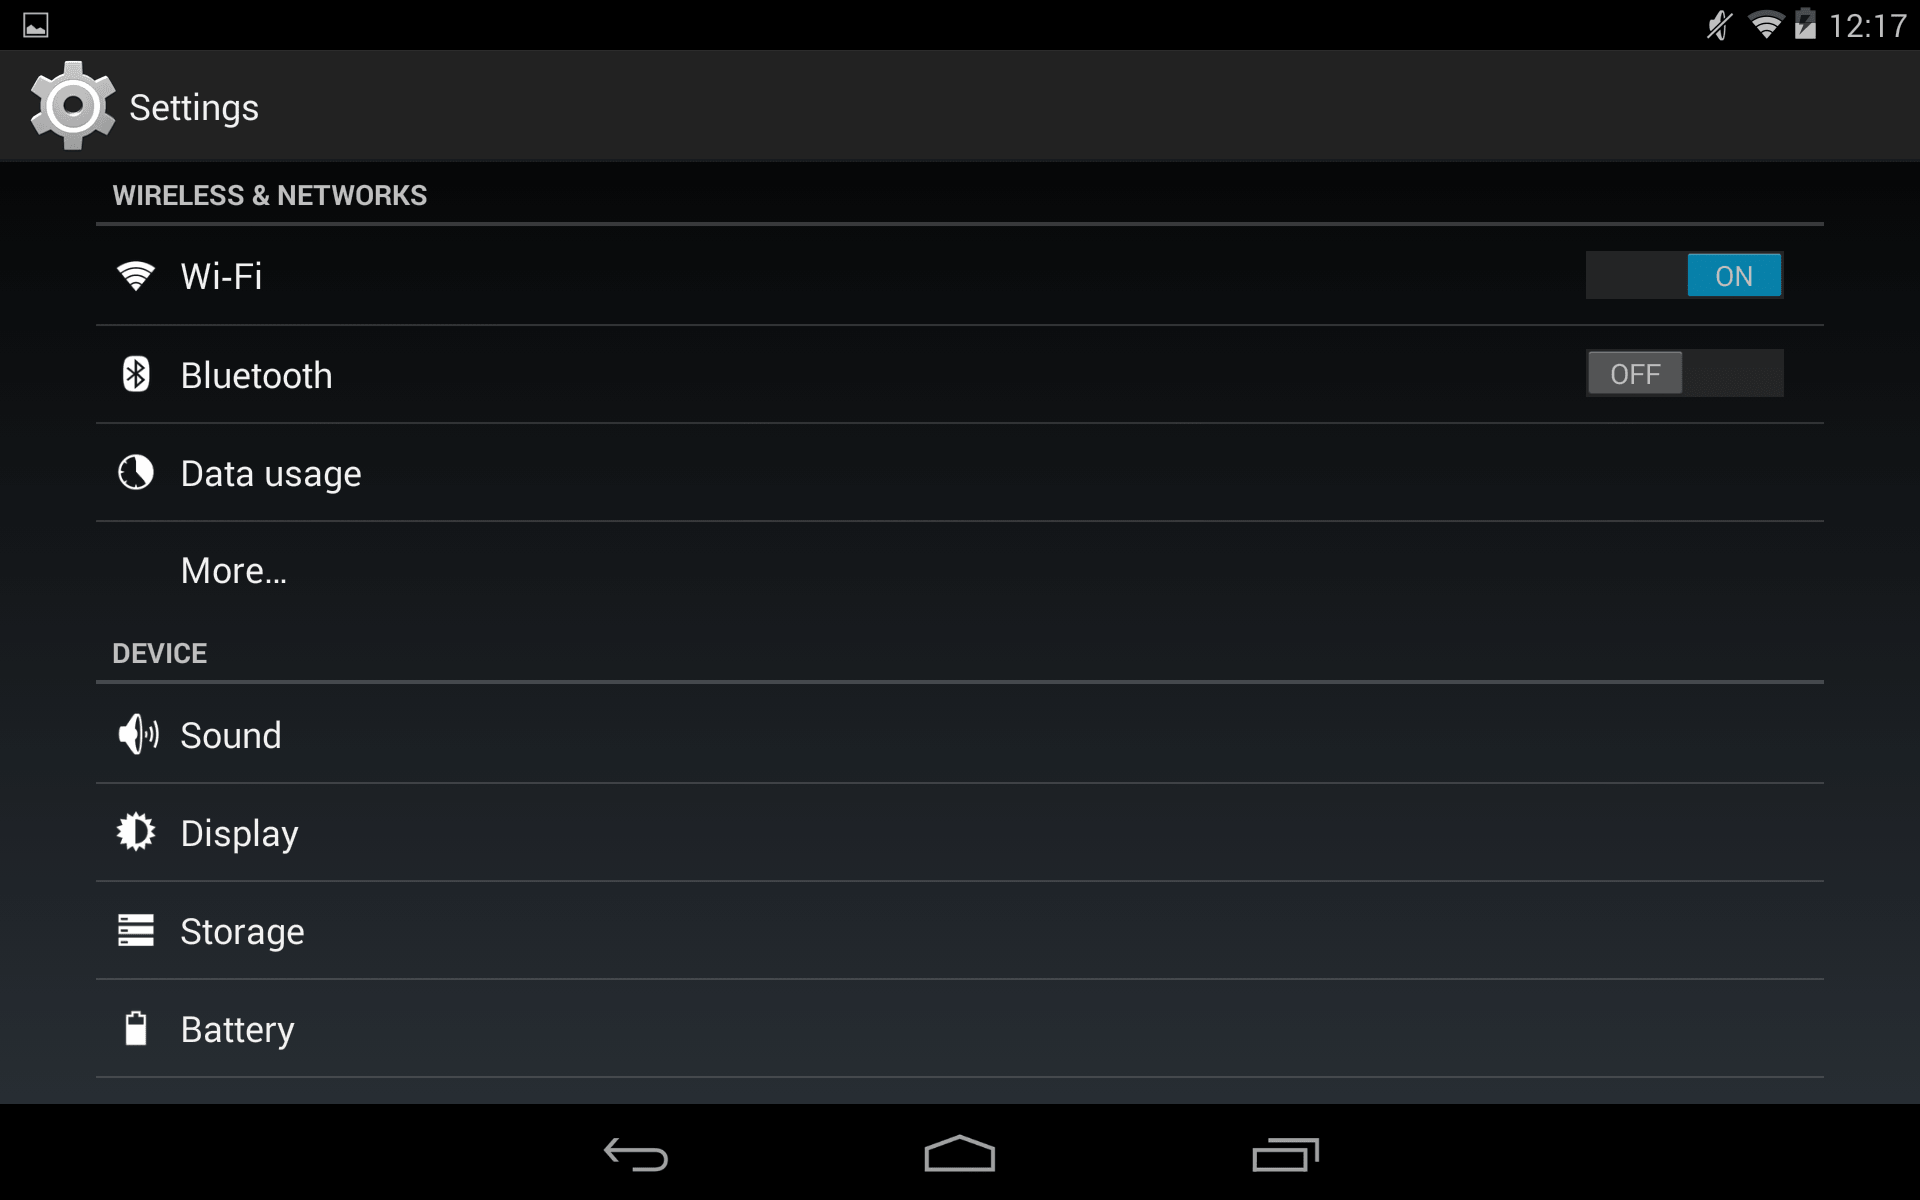
Go to Settings --> Applications --> Manage Apps --> Click on Google Play Store --> Clear Data and Clear Cache


Solution 4: Alternatively you can also uninstall play store updates
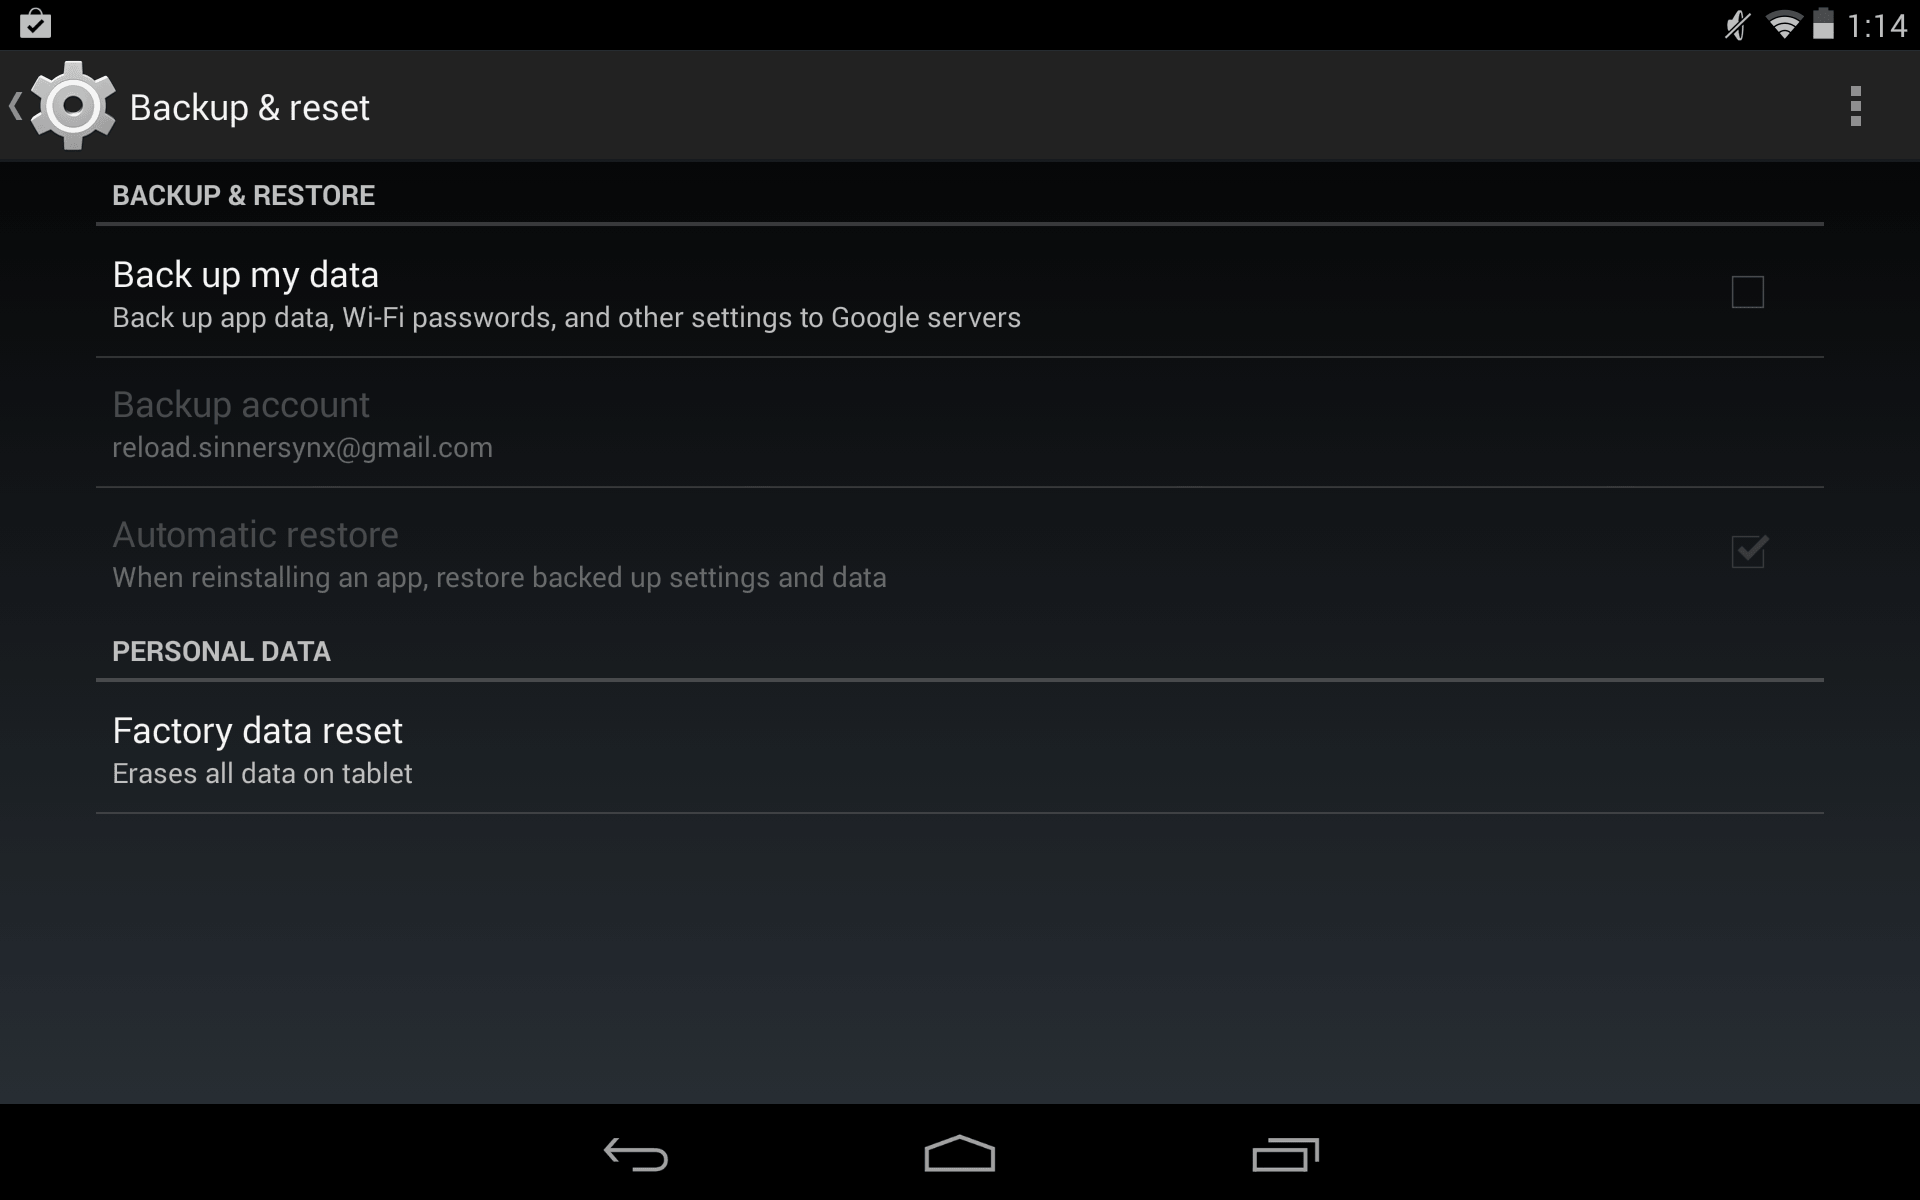
Go to Settings --> Applications --> Manage Apps --> Click on Google Play Store --> Uninstall Updates


Let us know if youve encountered this problem and found another solution to fix it.

Other fixes:

Clear app cache: Instead of clearing everything, jsut clear the cache of the app you're trying to update.

Clear Play Store cache: I've seen this work a dozen times and there's no need to clear Play Store data as well.

Don't use Wi-Fi: Sounds weird but I've heard trying to update via Wi-Fi is actually the cause of the problem too, so you could try updating via 3G/4G. Not advised if you have 25 apps waiting to update though. In this case, sideload those babies from your computer.

The other thing to be aware of is that this was a Google bug that they were working on, so fingers crossed it's not much of a problem anymore. 

How to Change Gili File Lock Password


"The Settings tab enables users to change their password or add an email address so they can be notified of any security breaches"
STEP 1:


            Go to Settings Tab in left panel 
STEP 2:
            Now Click on Change Password
STEP 3:
            Enter New Password and Confirm it.
STEP 4:
            Congratulation Password Change


GiliSoft File Lock Pro screenshot 3 - The Settings tab enables users to change their password or add an email address so they can be notified of any security breaches

Google Play “No Connection – Retry” Problem [Fix]

Google Play “No Connection – Retry” Problem


Google Play No Connection Retry ErrorThere often comes a time when you are tinkering with the latest Android apps and suddenly Google Play market pops up annoying “No Connection, Retry” error message even though your WiFi/3G/LTE connection is working smoothly and all the other internet apps are running fine. When I first experienced this problem, I had no clue what made all Google Play services including Gmail, Play Movies, Music, Magazines stop working. I tried to use different WiFi connection, VPN’s, changed DNS servers, restarted my Android phone but still no avail. Then finally, after hours of struggle I came up with solution which one would have never thought of.

How to fix Play Store “No Connection, Retry” Error

Here’s a list of common solutions to this problem, do these steps until the error message disappears.

1. Fix Date and Time Settings

It works 80 percent of the time. Google Play Services sync with their master servers to send and receive data, to do this your device time and date should be correctly set. I used to change time settings to cheat extra lives on Candy Crash Saga and later that turned out to be the main culprit behind connection error issue.

Date and Time Settings Android 

  • Go to Settings > Date & Time
  • Check Automatic date & time
  • Or alternatively, you can set time by yourself, just make sure it is correct.

2. Clear Google Play Store App Cache

Android OS keeps cache of Google Play Store items in order to quickly serve content to users and to save bandwidth at same time. Sometimes it causes issues and could be one of the reasons behind connection error. It is wise to clear cache and restart the Play Store. By doing this, not only it will resolve the issue but it will also serve you recent/fresh apps for download and purchase
Clear Data Google Play Store App
  • Go to Settings > Apps
  • Swipe right to ALL
  • Scroll down and tap Google Play Store
  • Press Clear Data button and tap OK

3. Change or Re-login your Google Account

If you previously changed the security settings or password of your Google account. You need to update the account settings on your Android device. Also, you can switch to other account.
Remove Google Account in Android
  • Go to Settings > Accounts > Google
  • Tap your primary Google account
  • Open options from right top corner, click remove account.
  • Now open Play Store, it will ask you to login your Google account again.

4. Uninstall Updates

Sometimes Google Play Store updates automatically and makes changes without user permission. If the above mentioned steps don’t help you, use the “uninstall updates” option of Play Store app, it will revert to previous version and may also fix the problem.
  • Go to Google Play App settings (refer to Step #2)
  • Press Uninstall Updates

5. Remove any proxy or VPN software

Remove any existing proxy or VPN services and connect directly to the internet before accessing Play Store.
Wireless and Network Settings in Android
  • Go to Wireless & Network, modify your WiFi settings, go to advanced options and remove any proxy servers.
  • Disconnect any VPN connection or apps you have running in background.

6. Delete hosts file

For advanced users only. If you rooted your Android device, do the following.
  • Open File Manager App.
  • Browse to root/system/etc.
  • Delete hosts.txt file

7. Factory Reset your Phone/Tablet

This comes as a last resort. If anything mentioned above does not work. It’s time to do a full factory reset to your phone. It will clear everything and put your device in its original condition. Make sure you back-up your contacts and files before you perform a reset, else you will lose everything.
Factory Reset Android KitKat
  • Go to Settings > Backup & reset
  • Click Factory Data Reset
If the all the solutions don’t help, please contact your ISP if they are blocking Google IP addresses. You may also want to visit the service center of your Android phone/tablet manufacturer. If you have any tips related to this issue, post a comment.

Android Data Recovery Pro 2.7.4

Android Data Recovery Pro 2.7.4

Free trial
2.53 MB

Publisher’s Description

Android Data Recovery Pro is a revolutionary new product designed to recover deleted data from Android Phones. Android Data Recovery Pro will help you recover deleted data as well as other data from your Android phone. This recovery tool will restore accidentally deleted contacts, messages, photos and video from your Android phones and tablets. As the world's first Android contacts recovery software, Android Data Recovery Pro allows you to recover deleted contacts directly from Android, as well as messages, photos and video.
Compared with other android recovery tool, Android Data Recovery Pro presents distinguished features. Its Preview Recovery process provides Thumbnail display of recoverable photos or files. Batch Recovery Process is capable of recovering multiple files at one time. Safe Recovery Process proves that Android Data Recovery Pro is safe and risk-free. At the same time, the software supports more than 100 different file types. Recover lost or deleted files on the basis of their file signatures with the advanced Raw Recovery feature included in the software.
Android Data Recovery Pro supports almost all Android phones, including Blackberry, Samsung, Nokia, LG, BenQ, Siemens, Fujitsu, CECT, Kyocera, Mitsubishi Electric, Panasonic, NEC, Palm, Pantech Wireless Inc., Philips, Qualcomm Inc., Sagem, Sanyo, Sharp, Sierra Wireless, Just5, SK Teletech, T&A Alcatel, Trium, Toshiba, and Vidalco.
Therefore, Android Data Recovery Pro is easy-to-use Android recovery software. The software can effectively recover deleted or lost photos, music, video, and multimedia files from almost all Android phones after disasters like erroneous deletion, corruption or formatting errors, etc.
When you encounter data loss of your Android phones or tablets, just use Android Data Recovery Pro.
Download and use it now: Android Data Recovery Pro 2.7.4 free download

How to Recover Deleted Contacts from Android Phones

 How to Recover Deleted Contacts from Android Phones
Is there a simple and safe way to restore deleted contacts from Android?
Some people may accidentally delete their contacts from Android. How to get those important contacts back? When you deleted contacts from Android, they were not really gone, but only marked as useless on your phone and could be overwritten by new data. Therefore, you'd better stop using your phone after losing your contacts, to ensure a higher rate of recovery.
Now, let's check how to recover your deleted contacts from Android with Android Contacts Recovery. This program allows you to restore lost contacts directly from Android, as well as pictures, messages and video.
Download the free trial version of Android Data Recovery:
Download Win Version Download Mac Version
Note: Please check your Android device model and the Android OS here before you perform the recovery. Not all Android devices are supported right now by Android Data Recovery.

Step 1. Connect your Samsung mobile phone to the computer (enable USB debugging)

Download, install and run Android Data Recovery on your computer, and you'll get the main window below.
If you didn’t enable USB debugging on your device, you’ll see the window below. Follow the detailed expression below. There are three different ways to finish this job for different Android system:
Note: If you have already enabled USB debugging on your device before, you can skip this step.
  • 1) For Android 2.3 or earlier: Enter "Settings" < Click "Applications" < Click "Development" < Check "USB debugging"
  • 2) For Android 3.0 to 4.1: Enter "Settings" < Click "Developer options" < Check "USB debugging"
  • 3) For Android 4.2 or newer: Enter "Settings" < Click "About Phone" < Tap "Build number" for several times until getting a note "You are under developer mode" < Back to "Settings" < Click "Developer options" < Check "USB debugging"
Then connect your Android device to the computer and move to the next step.

Step 2.  Analyze and scan your Android device for lost contacts

After the program detected your Android device, you'll get a window below. Before scanning your device, let the program analyze it by clicking “Start” button.
The analysis will take you a few seconds. After that, you'll get a window as follows. As the window shows, click "Allow" button on your Android device's screen to permit the Superuser Request. Then click "Start" button on the program's window to begin the scan.

Step3. Preview and restore contacts from Android phones

After the scan, it will remind you when all contacts and messages have been scanned out. Then you can stop it and preview all your contacts. Mark the data those you want to get back and click "Recover" button to save them on your computer.
recover deleted contacts from android phone
Note: Contacts in the scan result are displayed in different colors. Actually,those in orange are the contacts deleted recently, and the black ones are those existing contacts on your Android phone. If you have such a need, you can use the button above (Only display deleted items) to separate them.
Now, download the free trial version of Android Data Recovery below to have a try.
Download Win Version Download Mac Version
- See more at: http://www.android-recovery-transfer.com/recover-deleted-contacts-from-android-phone.html#sthash.VSIp4M1t.dpuf